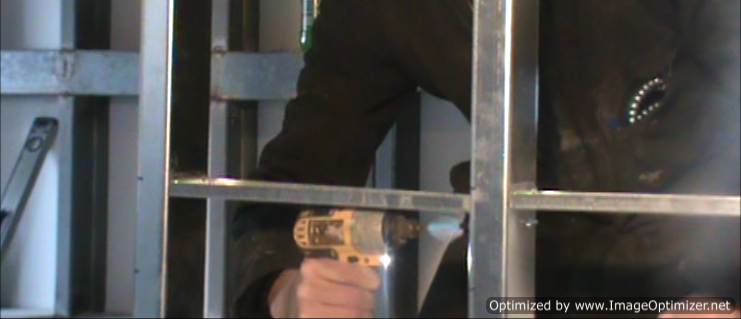
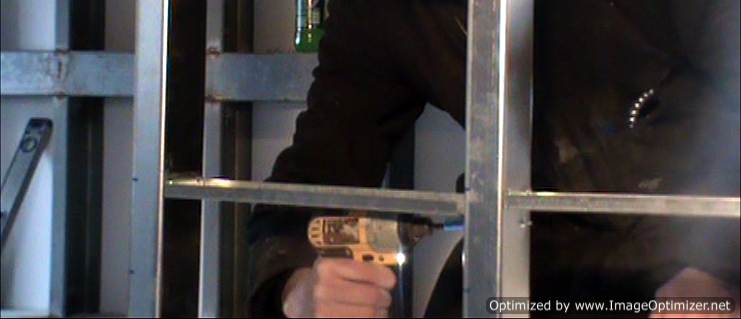
Step 1 - Place Fire-Tite between metal studs
Insert the Fire-Tite system by Metal-Lite between two metal studs. Fire-Tite can be installed in a straight run along a metal stud wall. The left photograph shows the installer inserting the Fire-Tite system between the studs. The right photograph is a close up of Fire-Tite being placed between the studs. Notice the C shape in the Fire-Tite that allows it to fit nicely into the metal studs.
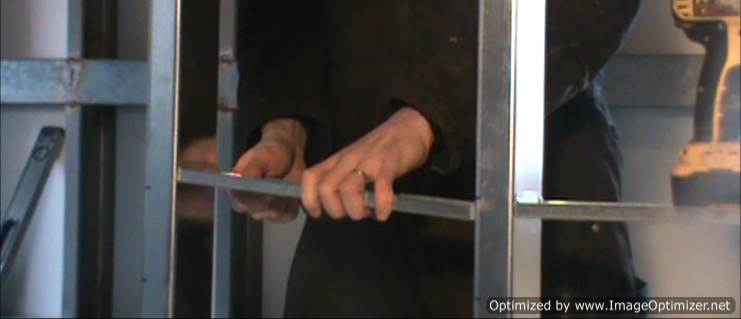
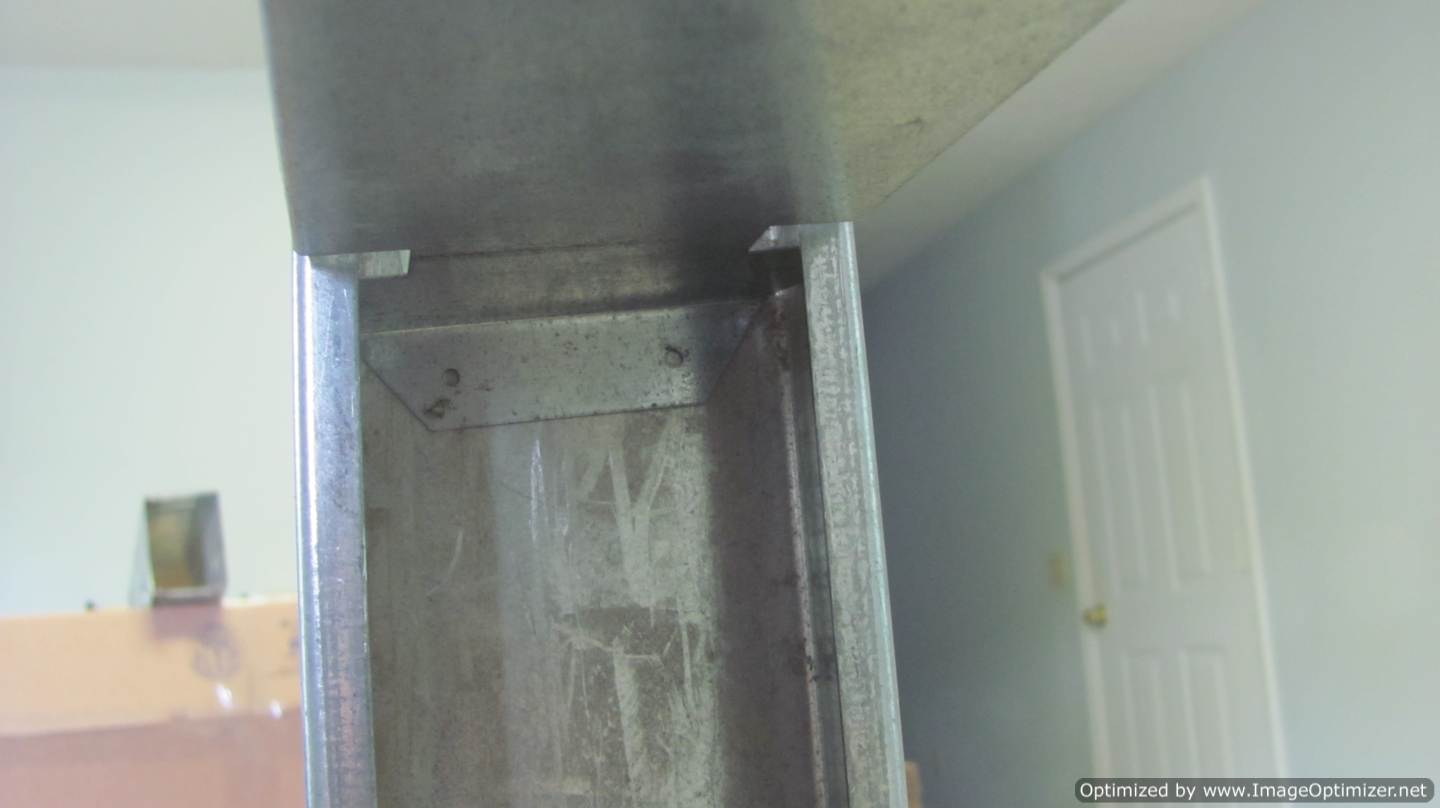
Step 2 - Install first self-tapping screw
Simply drill the first screw into the studs. The second photograph shows a close up of the Fire-Tite before the screws are drilled into it.
Step 3 - Install the second screw
Install the second screw.

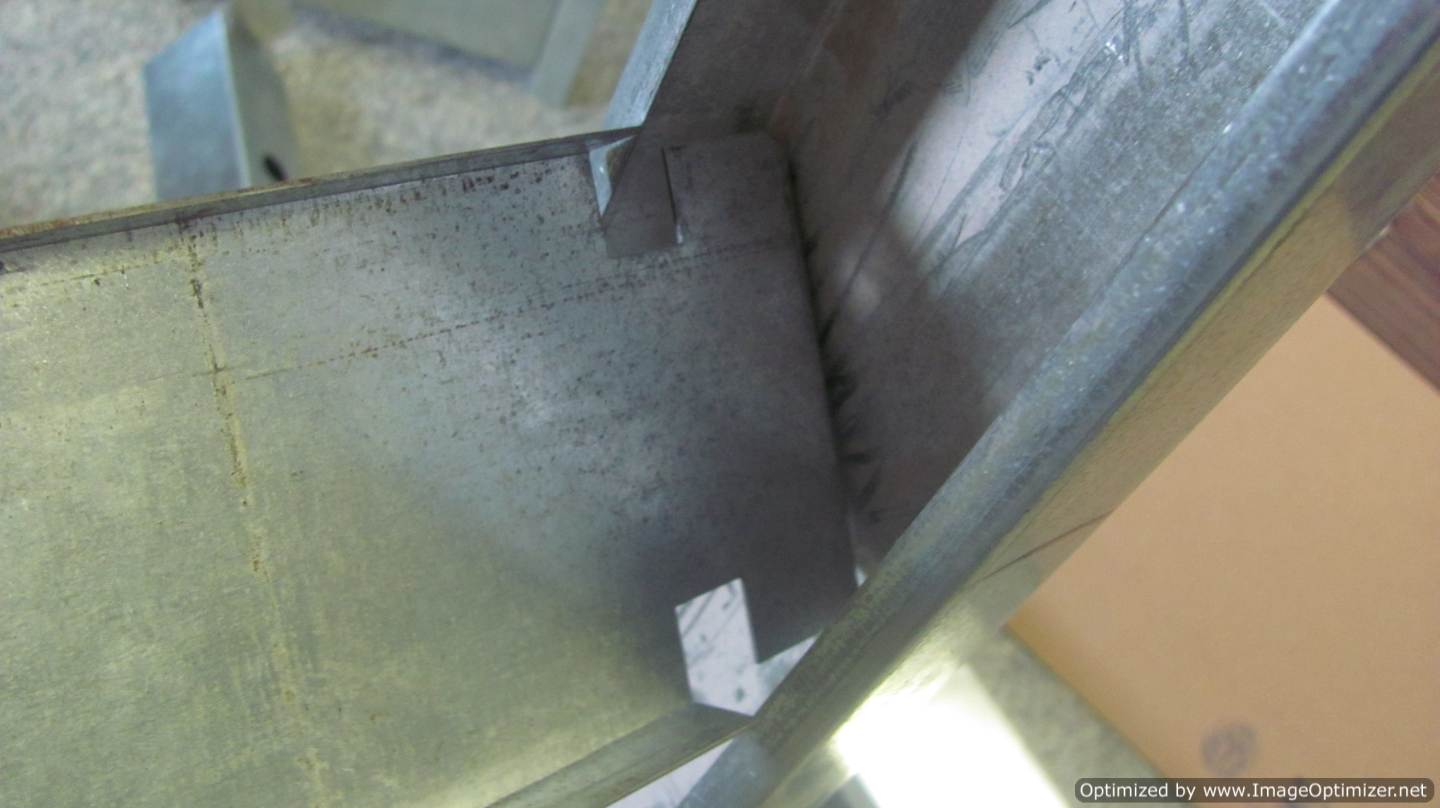
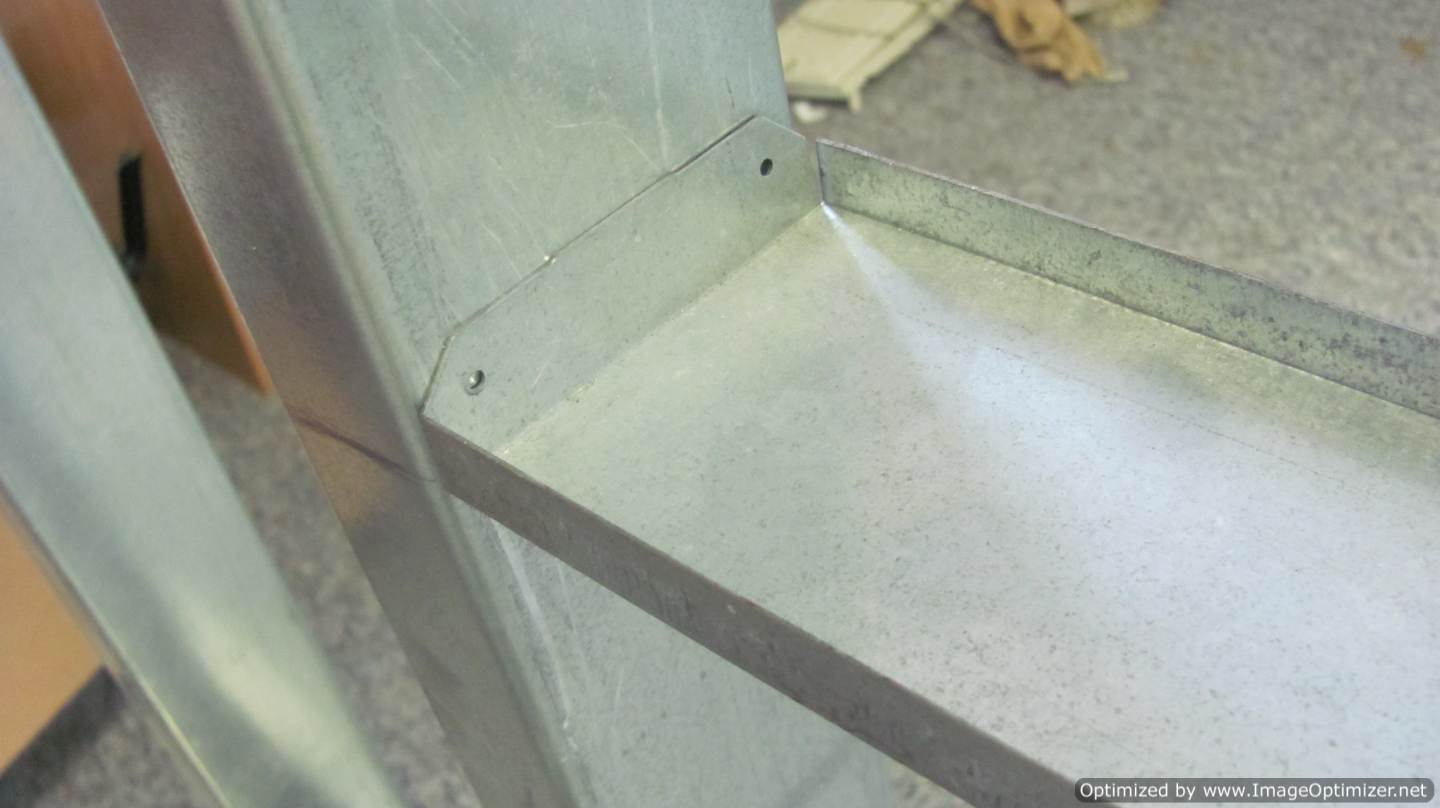
Step 4 - Drill the third screw
Continue drilling Fire-Tite into the studs. The photograph on the right shows the view under the Fire-Tite bridging, blocking, and backing system. One side of the Fire-Tite has the screws inserted into the top panel, and the other on the bottom. This is so that the screws will not come in contact with each other while moving from stud-to-stud, thus allowing the wall to be installed in a straight line.
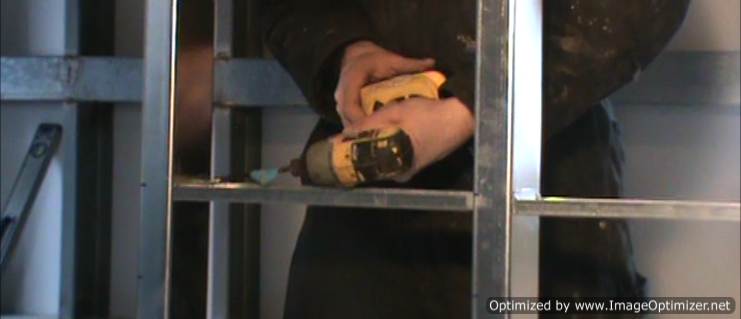
Step 5 - Drill the fourth screw
Simply drill the fourth and final screw in and you're done! Repeat steps as you move along from stud to stud. Approximate installation time is less than two minutes per Fire-Tite piece.